
The day-to-day routine of a customer support team can be pretty challenging; as they receive a tremendous amount of customer requests from multiple communication channels.
The Tickets dashboard enables managers and agents to monitor customers’ tickets and follow up on them until solved.
In this article, we show you how to use Dsnty Engage ticketing. Let’s get started!

Search and Filter Tickets
On the left menu of your workspace, click on Service Desk >Ticketing dashboard to view all details of recorded tickets. Filtering tickets make it easy to reach certain tickets through many fields as shown:
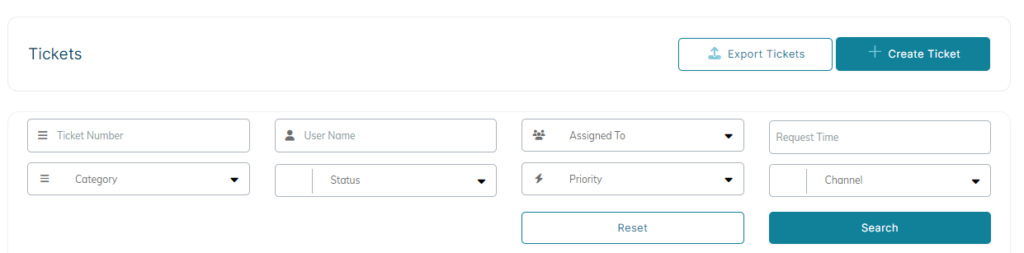
ℹ️ Agents can view ticket(s) that are not assigned to them without the ability to leave comments or add attachments.
ℹ️ For data privacy issues, agents can only view the tickets list, but won’t be able to use the export functionality.
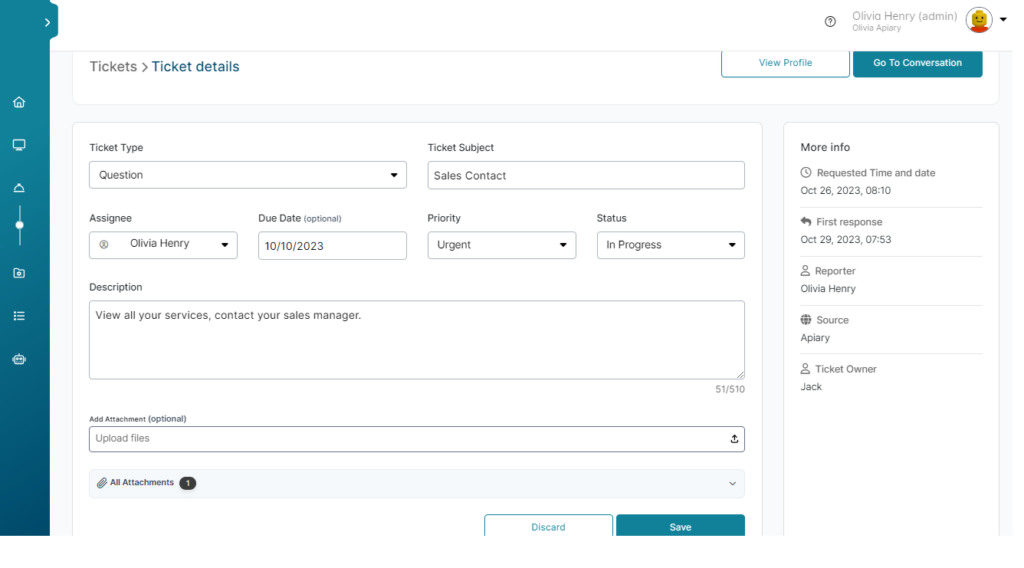
Access Ticket Details
To view any ticket’s details, click on the eye icon under the Details column. You will be directed to the Ticket’s Details page, where you can find more info about the customer’s case, as well as track all actions taken so far.
Automating Tickets Collection from End-Customers
⚠ This feature is available on request by Tactful users. For activation details please contact us.
Tactful can utilize our simple automated ticket collection solution to streamline collecting complaints and requests from their customers who are interacting with the bot either through detecting the intent from their natural text input or through selecting a “Ticketing“ option from the menu.
- In 3 languages:
- English.
- Arabic.
- Dutch.
- Supporting 3 channels: –
- Webchat.
- Meta Messenger.
- WhatsApp.
ℹ️ Agent can access ticketing module, view all tickets, and filter tickets but can’t export tickets, can view ticket(s) that are not assigned to them without only the ability to leave comments and add attachments.