In this article, we will illustrate how to deal with customer tickets, change status, share comments with the team, and explore customer activities, historical conversations and previous tickets.
Finding Tickets
There are multiple ways to access any ticket, such as:
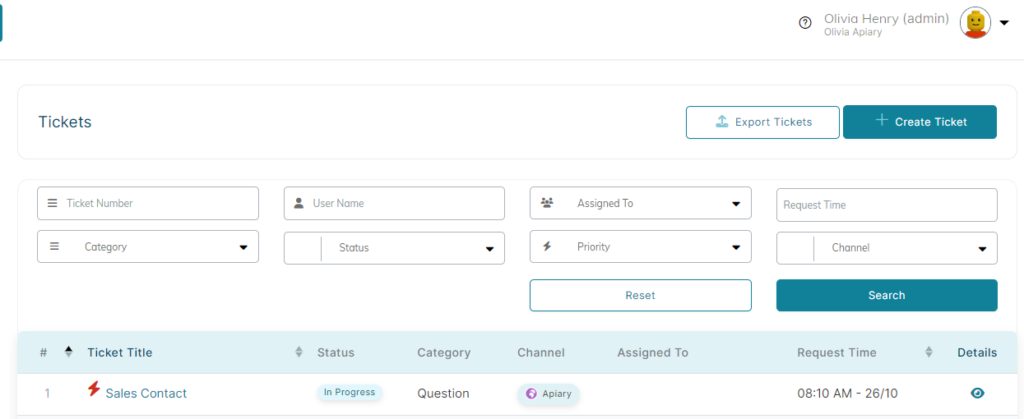
Tickets dashboard
- On the left menu of your workspace, click on Service Desk > Ticketing.
- Click on the eye-shaped icon to access the Ticket Details page.
Contacts dashboard
- Open your Contacts dashboard: on the left menu of your workspace, click on Service Desk > Contacts.
- Each row represents a customer. On the far right, click the eye-shaped icon to open the customer profile.
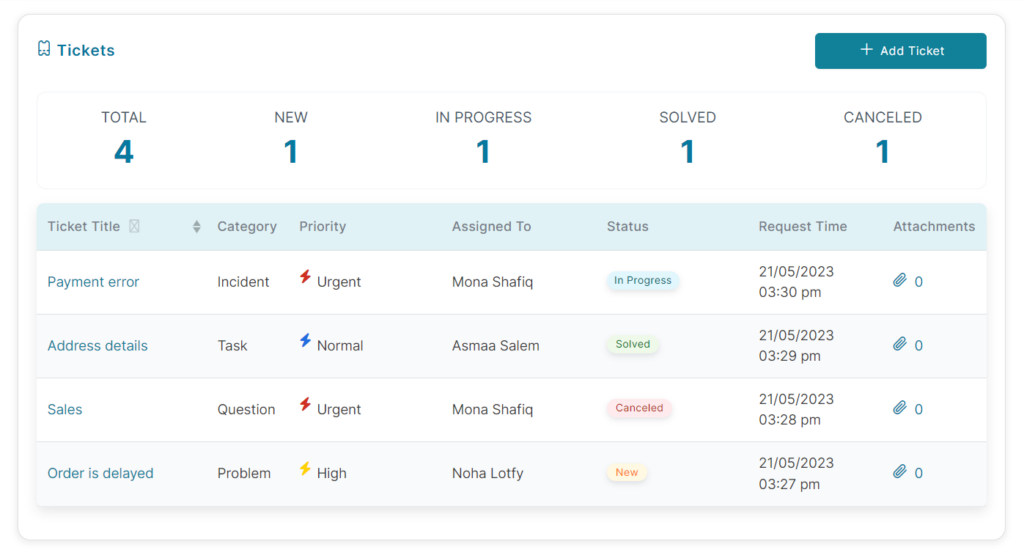
- Scroll down to find the section for tickets that are related to that customer.
- Click on the Ticket Title to open the Ticket Details page.
Unified inbox
During an active conversation in the Unified Inbox, you can view/add tickets from the Tickets tab on the right panel.
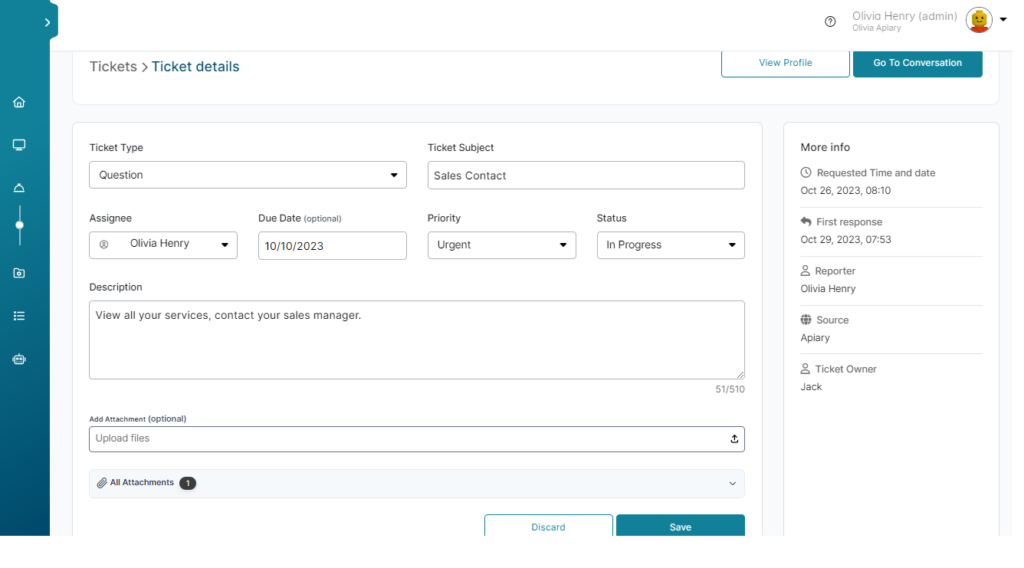
Ticket Details
You can track, prioritise and solve customers’ issues using the ticket page: