Creating categories allows you to organize your products by type, making it easier for customers to navigate and find what they need during their browsing journey.
In this article, we will show you how to create a new category, let’s get started.
Add/Edit Categories
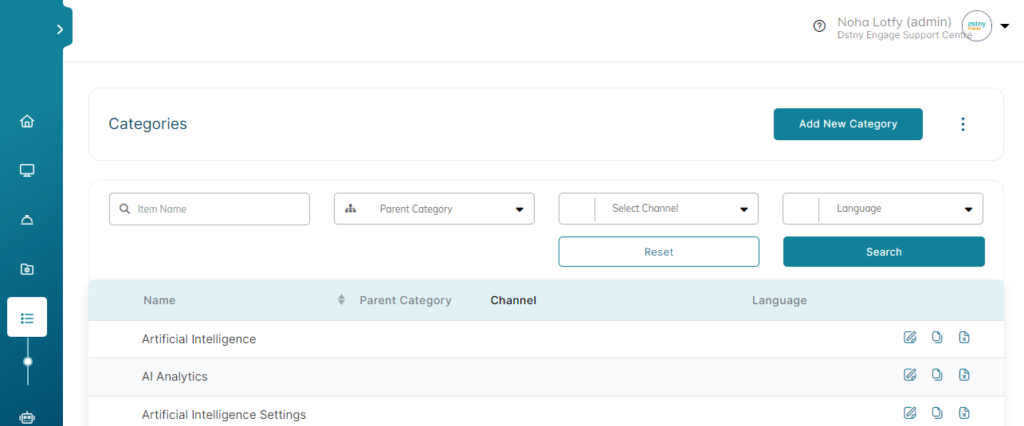
- On the left menu of your workspace, click on Content Manager > Categories.
- Click +Add Category button, or click the edit icon to edit an existing one.
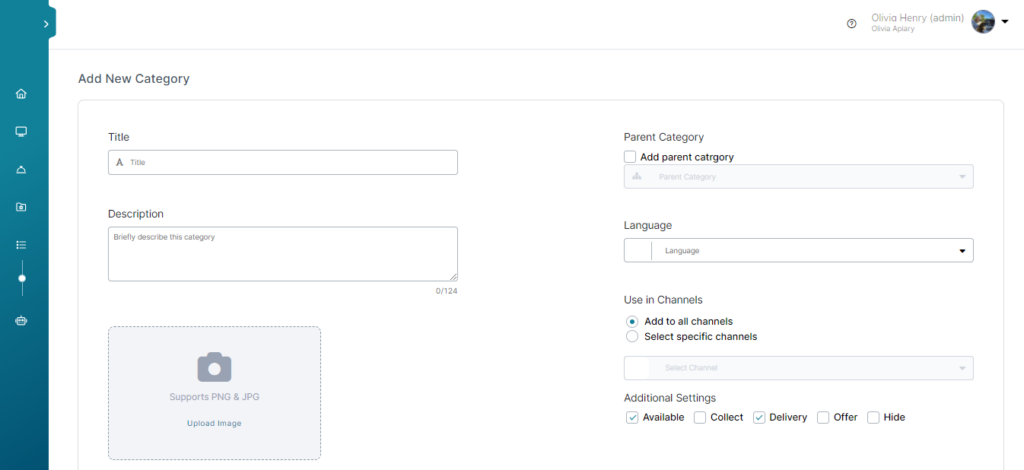
- On the new Category page, type a descriptive Title, and Description and choose the Language.
- If this is a sub-category, click the Parent Category list and select its Parent Category.
- Choose the Channels you want the category to be viewed in.
- Check Additional Settings such as Available, Collect, Delivery, Offer, Hide.
- Add category image then click Save Changes.